Deep Learning: Sentiment Analysis with TensorFlow and Keras

Sentiment analysis is the process of analyzing text data to determine the sentiment expressed by the author. It has many applications, including analyzing customer feedback, monitoring social media sentiment, and predicting stock market trends. In this article, we will discuss how to perform sentiment analysis using TensorFlow and Keras.
How do make simple sentiment analysis using TensorFlow and Keras ?
- Load the IMDB dataset using the
imdb.load_data()function. - Preprocess the data by padding the sequences to a maximum length of 200 and perform post-padding.
- Build a convolutional neural network (CNN) model that consists of an embedding layer, a dropout layer, a 1D convolutional layer, a global max pooling layer, and a dense layer with a sigmoid activation function.
- Compile the model with the
adamoptimizer and binary cross-entropy loss function. - Train the model on the training data with 10 epochs and a batch size of 32.
- Evaluate the model on the testing data and prints the test accuracy.
Preparing the Data
The first step in performing sentiment analysis is to prepare the data. In this example, we will be using the IMDb dataset, which contains 50,000 movie reviews labeled as positive or negative. The dataset is available in Keras and can be loaded using the imdb.load_data() function. We will limit the dataset to the 10,000 most frequently occurring words to keep the data manageable.
import tensorflow as tf
from tensorflow.keras.datasets import imdb
from tensorflow.keras.preprocessing.text import Tokenizer
from tensorflow.keras.preprocessing.sequence import pad_sequences

#load dataset
max_features = 10000
(x_train, y_train), (x_test, y_test) = keras.datasets.imdb.load_data(num_words=max_features)

#this is to retrieve word index values and get actual texts from encoded data
index = keras.datasets.imdb.get_word_index()
reverse_index = dict([(value, key) for (key, value) in index.items()])
x_train_decoded = [" ".join( [reverse_index.get(i - 3, "#") for i in item]) for item in x_train]
x_test_decoded = [" ".join( [reverse_index.get(i - 3, "#") for i in item]) for item in x_test]

# Preprocess the data
#preprocess dataset
#tokenizer = Tokenizer(num_words=max_features)

#no need because already tokenized
# tokenizer.fit_on_texts(x_train)
# x_train = tokenizer.texts_to_sequences(x_train)
# x_test = tokenizer.texts_to_sequences(x_test)

#add pad sequences
max_len = 200
x_train = pad_sequences(x_train, padding='post', maxlen=max_len)
x_test = pad_sequences(x_test, padding='post', maxlen=max_len)
The next step is to preprocess the data. We will pad the sequences to a maximum length of 100 and perform post-padding. This ensures that all sequences have the same length and can be fed into a neural network.
Building the Model
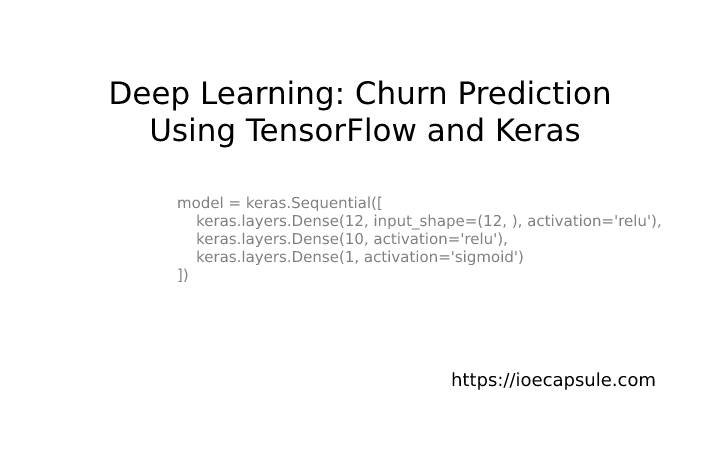
Once the data is prepared, we can build the model. In this example, we will be using a convolutional neural network (CNN) with an embedding layer, a dropout layer, a 1D convolutional layer, a global max pooling layer, and a dense layer with a sigmoid activation function. We will use the Sequential API to build the model.
#build the model
model = keras.Sequential([
    keras.layers.Embedding(max_features, 128, input_length=max_len),
    keras.layers.Conv1D(64, 5, activation='relu'),
    keras.layers.GlobalMaxPooling1D(),
    keras.layers.Dense(64, activation='relu'),
    keras.layers.Dropout(0.2),
    keras.layers.Dense(1, activation='sigmoid')
])
model.summary()
The first layer of the model is an embedding layer that maps the input sequence of integers to a dense vector space. The embedding layer is followed by a dropout layer that randomly drops out 50% of the input units to prevent overfitting. The next layer is a 1D convolutional layer that applies a set of filters to the input sequence. The output of the convolutional layer is fed into a global max pooling layer that takes the maximum value over the entire sequence. Finally, the output of the global max pooling layer is fed into a dense layer with a sigmoid activation function that outputs a probability between 0 and 1.
Compiling and Training the Model
Once the model is built, we can compile it with an optimizer and a loss function. In this example, we will be using the adam optimizer and binary cross-entropy loss function. We will also include accuracy as a metric to monitor during training.
# Compile the model
model.compile(optimizer='adam', loss='binary_crossentropy', metrics=['accuracy'])
We can then train the model on the training data and evaluate its performance on the testing data. In this example, we will be training the model for 10 epochs with a batch size of 32.
# Train the model
model.fit(x_train, y_train, epochs=10, batch_size=32, validation_split=0.2)
Testing the Model
After training the model, we can evaluate its performance on the testing data using the evaluate method. This method returns the loss and accuracy of the model on the testing data.
# Evaluate the model on the testing data
model.evaluate(x_test, y_test)

predicted = model.predict(x_test)
predicted_output = list(map(lambda x: 0 if x < 0.5 else 1,
test_index = 10
print(f'Predicted: {predicted_output[test_index]}')
print(f'Actual: {y_test[test_index]}')
We can also make predictions on new data using the predict method. This method returns the probability of each class for each input.
# Make predictions on new data
#comment and un-comment texts variable below to see results. Above is a negative review and below is positive.

#texts = ["I found this movie to be incredibly boring and uneventful. The acting was wooden and the plot was predictable. I wouldn't recommend it to anyone."]
texts = ["I absolutely loved this movie! The acting was top-notch and the story was engaging from beginning to end. I would highly recommend it to anyone."]

#The 'index' dictionary has keys that are words and values that are integer indices. By default,
#the integer indices start from 1, so you can add 3 to each index to get the actual index used in the
#IMDB dataset (1 is reserved for padding, 2 for the start of a sequence, and 3 for unknown words).

sequences = [np.array([(index.get(word, 0) + 3) for word in text.lower().split()]) for text in texts]
data = pad_sequences(sequences, padding='post', maxlen=max_len)

y = model.predict(data)

print(y) #closer to 0 means negative and closer to 1 means positive
Conclusion
In this article, we discussed how to perform sentiment analysis using TensorFlow and Keras. We used the IMDb dataset to train a convolutional neural network for binary sentiment classification. We also showed how to preprocess the data, build the model, compile and train the model, and evaluate its performance on the testing data. Finally, we demonstrated how to make predictions on new data using the trained model. Sentiment analysis is a powerful technique that has many applications, and TensorFlow and Keras make it easy to build and train deep learning models for this task.